Silver Filled Hollowpoints
| Silver Bullet Pages | |
|---|---|
|
|
|
Comment: Since I started the silver bullet thread, I've had numerous people suggest that simply pouring silver in a hollowpoint would be an easy solution. A few weeks ago I got a letter from a gentleman who had done just that. I asked if he would be kind enough to share his experience with our readers here, and he graciously agreed.
By Richard Gandolf Jr.

A few years back, I decided I would try to cast .40 S&W silver bullets for use in my Glock. This experiment was purely motivated by curiosity, as we do not suffer from a burgeoning Werewolf population here in North America. I started with a .40 caliber mold and an acetylene torch to melt the silver. Using this method I was able to cast four bullets and, of the four, one of them turned out well enough that I could use it to safely make a complete round. That is what I believed anyway until I got home and realized that silver shrinks much more during cooling than the same amount of lead. After some reading online about silver casting, specifically how much it shrinks, I made an educated guess and bought a .41 caliber mold in an attempt to compensate for the difference. I was fortunate in that, while the .41 caliber cartridge is not common, the .41 caliber mold is easy to come by due to its popularity among Wild West re-enactors. After several more molding attempts I was able to produce five .41 caliber semi-wad cutter bullets, which shrank to just slightly larger than .40 caliber after cooling. I went through several ounces of silver in the process and was a bit discouraged at how quickly the price per round was escalating.
A quick note here on the .41 caliber. It was first used by Colt as one of several calibers for the Army Single Action. At that time is was not listed as a magnum and appeared very sporadically until Smith & Wesson re introduced it as the .41 magnum in their model 57. Despite the new model designation, this was an existing model that was re chambered in the .41 caliber rather than the existing .44. Since then the .41 magnum has been manufactured on occasion by various manufacturers. Later a .41 Action Express was developed for use in semi auto with the goal to replicate the performance of the .41 magnum in a semi-automatic round. This is the mold I wanted to use, however, I was not able to find a .41 AE mold at the time so I under filled the .41 magnum mold instead.
After getting five good casts, I sanded down the bases of the bullets until they were flat and an even weight of 180 grains each. .41 AE bullets range from 170 to 210 grains. I used a 210 grain mold since the silver is lighter than lead and I needed the extra volume to get to 180 grains of silver. Conveniently enough, 180 grains is a common bullet weight for a .40 so I was able to use Hornady's reloading data book. I did a mid-range powder charge, and the bullets seemed to seat fairly well in the cases, so off to the range I went. I did not have a speed trap at the time and I just wanted to make sure that they would cycle reliably. Unfortunately, the rounds did not cycle. I was able to fire two in a row, however the remaining three jammed. These were all smoke stack misfeeds which I suspected was because the silver was too hard to seat in the lands and groves of the rifling and make a gas tight seal like the lead or soft copper jackets of standard ammo. This lack of seal would lower the bore pressure and affect the semi auto action of the Glock.
I had spent close to 100 dollars and gotten five bullets that could not cycle in a semi auto. While they were a cool conversation piece, I found the risk verses reward factor to be prohibitive at best.
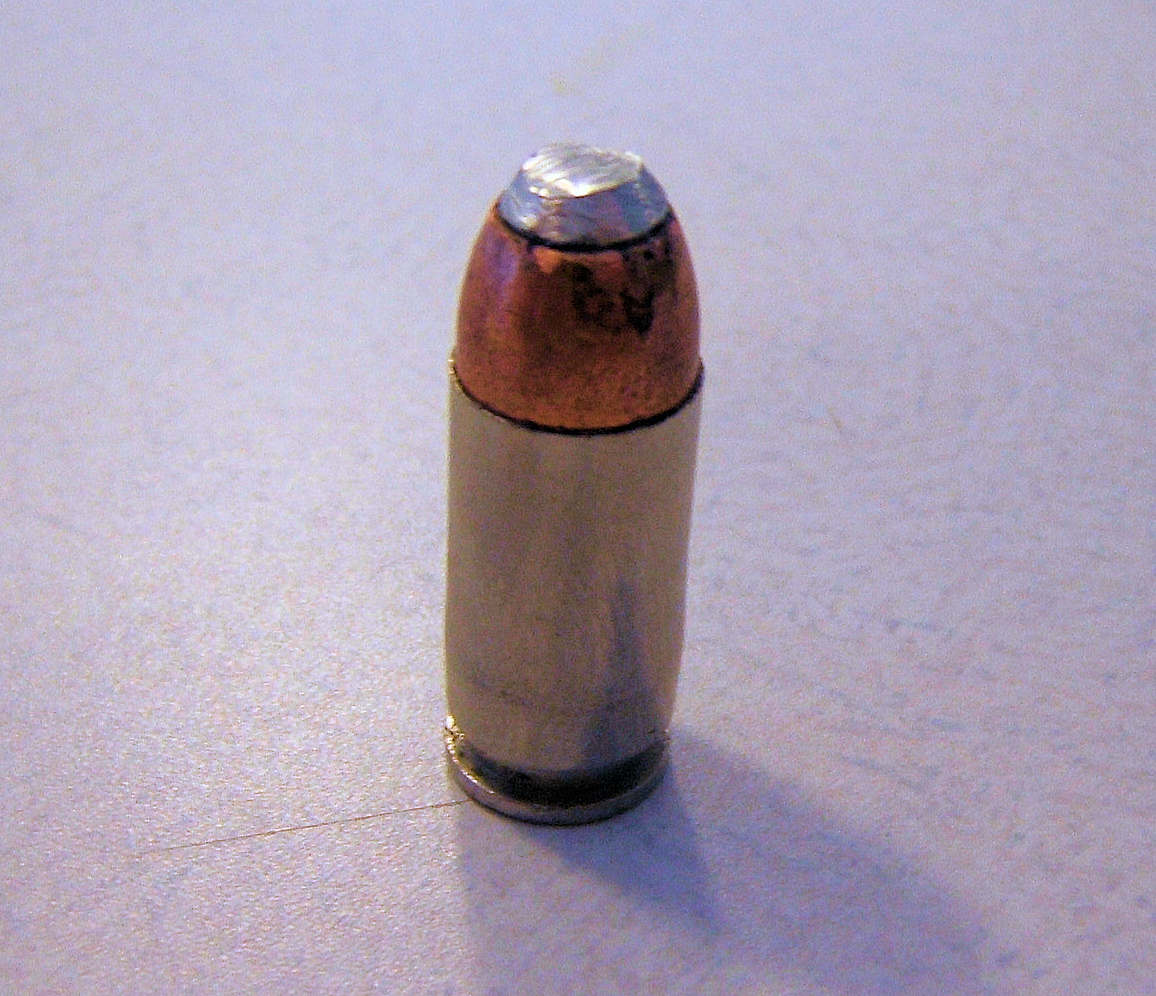
I abandoned the silver bullet idea for about six months and then came up with what turned out to be a much better system; both in production and ballistic function. I started looking at hollow points, the idea being to just cast silver in the hollow tips. After a bit of searching I settled on Speer Gold Dot 180 grain hollow point bullets. The angle of the feed ramp on a firearm limits the diameter of the opening on a hollow point. This limits the diameter of the hollow point before the bullets hang up on the lip of the feed ramp. These Speer Gold Dot bullets are as wide mouth of a hollow point that my gun could reliably cycle.

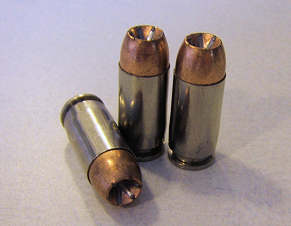
After more thought I ended up lengthening the depth of the hollow point cavity to accommodate more silver and improve the bond. I did this by drilling them out on a drill press at work on my lunch. I did not touch the copper jacket when I did the drill work. Casting the silver for this was much easier than casting full bullets. After drilling the holes I blew them out with canned air since it is moisture free. I then inserted wooden dowel rods in the holes and broke them off at about two inches. I took them all home and gave them a coat of lube, spray Pam, and set them nose up on a baking sheet. I then poured plaster in the pan to the point so that the plaster level was an 1/8th of an inch higher than the bullets. Once the plaster dried out I carefully removed the dowel rods and took my Dremel, grinding back the plaster to form funnel shapes that closely matched what was on my bullet molds. I blew out the holes again with canned air then baked the pan in the oven at 350 F for three plus hours. This was to chase out any moisture left in the plaster after it had cured.
I poured ten bullets this time with less silver, making production much cheaper. I trimmed these up with my Dremel and these scaled at 178-180 grains. I could live with the variance of 2 grains per bullet. Once I was done and removed the bullets out of the plaster, I reloaded these as per the Speer's reloading manual. The bullets cycled as reliable and were as accurate at 20 feet as standard factory full metal jacket. I reserved three rounds for future ballistic gelatin.

Later I made my ballistic gelatin since buying it online is rather pricey and I did not need very much. I used a 12” square storage tub for a mold and fired 3 rounds into the mold. I was disappointed with the results. The silver separated and created another wound channel about 2 inches in. While the idea of having the silver come out and create a second wound channel is not so bad, I was hoping for it to stay together a little longer. I was afraid that with separation occurring in only two inches of gelatin the round would come apart when impacting something like a heavy leather jacket, or a pelt.
I decided to drill the hole the same but use my Dremel to grind out a ring in the base of the cavity as well as several small grooves in the whole cavity wall. I poured five more and went back to the range again with more homemade gelatin. These did much better as far as keeping their shape for longer and averaged between four to five inches of penetration before separation. These three rounds cycled well and I did not have any cycle issues with any of the bullets that were filled in with silver. Unfortunately, I do not have any ballistic data to provide as I did not have access to a speed trap at the time. However, my goal was to make a semi auto round that was still reliable and used silver as a component. These rounds met that goal and if a werewolf ever comes to visit I can sleep better at night knowing I won't be left wanting.
